


When you log in to WordPress installed with the AI Builder option for the first time, you will be greeted with a screen that will allow you to create your website in a few steps. The process is intuitive and user-friendly, allowing you to be easily guided through the process of creating a website.
1. In the first step, choose the theme of your new website. In our example, we typed “Electric bike shop” and clicked next.
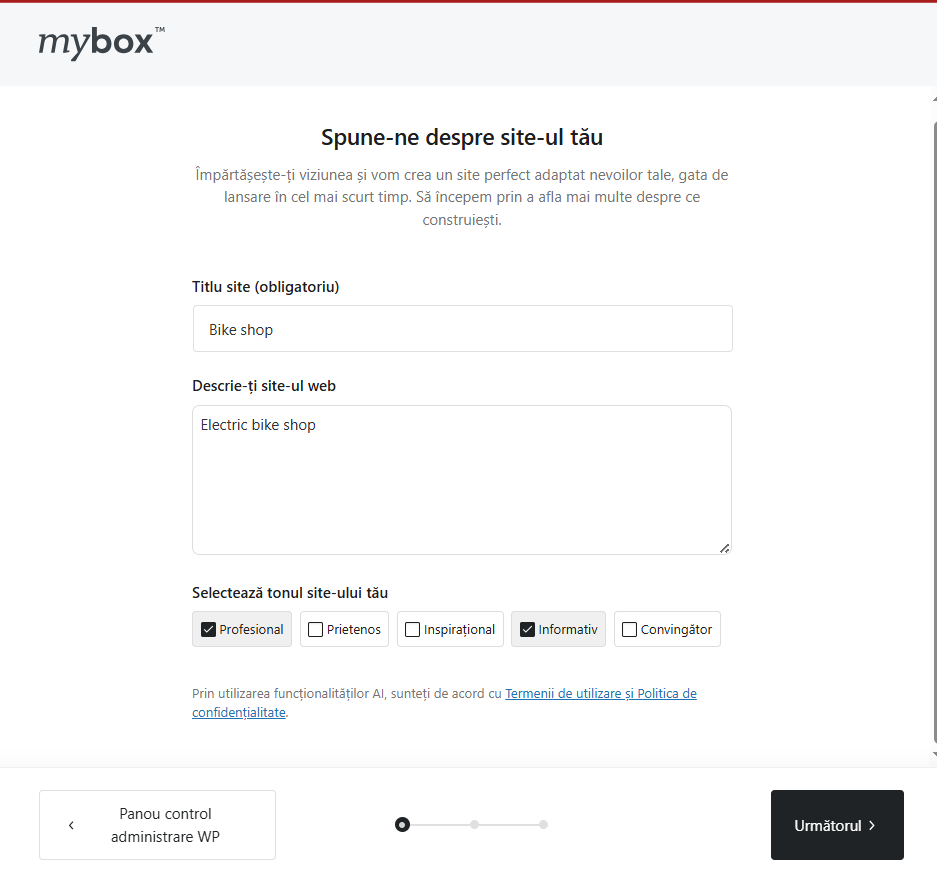

2. The next step is to configure your website. Choose if the website will be a single page, or if it will require multiple pages. You can also choose if you will include products to sell on your website, if your visitors can contact you and more. Once you selected the options that suit your needs, click on the “Next” button.

3. In this step you can choose a design from your website. Your previous answers were used to create multiple potential designs that you can now select. After selecting the design you like, click “Next”

4. At this stage, our AI Creator will suggest subpages that should match the profile of the website you want to create. By clicking on the icon with an eye on the right, you can preview the appearance of individual subpages, and by clicking on the checkbox on the left, you can specify whether such a subpage should eventually be included in the created website or maybe you do not need a given subpage. Click on “Next” after you decided what subpages to keep.

6. Your website’s installation process begins. It’s generally done in 2-3 minutes. After the installation is complete you can begin browsing your new website, testing if everything works as intended.

7. To further modify your website, you can either do it manually, from the WordPress panel by installing plugins manually and editing content using standard tools, or you can ask our AI for help.
