


To add a new domain in your Cloudflare dashboard, log in to the https://dash.cloudflare.com page, then click the Add site button.
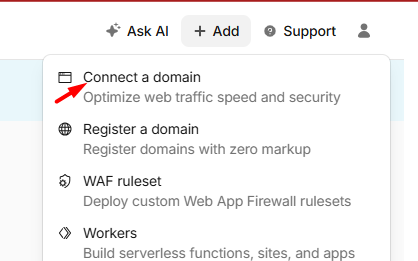
Next, enter the domain name you plan to add. In our example, this is yourdomain.com
Once you have entered the domain name, click the Add site button.


In the next step, choose the plan you are interested in. In most cases, the free option is sufficient and we will also choose this in our example. Once you’ve selected a plan, click Continue.

Cloudflare will now scan the domain’s current DNS zone to read and import its contents. This may take a while.

Once the scan is complete, a table with DNS zone records will appear, which will be created on the Cloudflare side. Make sure everything is in order. By clicking the Add record button, you can add more personalized entries. When everything is correct, click Continue.

In the last step, Cloudflare will tell you which DNS servers you need to set up on the domain registrar’s side (where it was purchased) in order to change the delegation correctly. Once you’ve completed this step, on the domain registrar’s side, click Done, check nameservers.

Once the page has reloaded, Cloudflare will offer you to go through additional steps. They are not necessary, so you can skip them by clicking on the Finish later link.

Note that ordering a change of DNS servers on Cloudflare requires propagation.
Propagation is defined as the broadcasting on the Internet of any changes at the level of domain configuration, i.e. in the settings of DNS servers and the DNS zone that is subject to them. This applies both to the situation when the domain has just been registered, i.e. it was created in the parent registry, but also to changes in the configuration of an existing domain. This process depends on operators around the world and is assumed to take up to 24 hours.