


LiteSpeed Cache is a caching plugin that integrates directly with the LiteSpeed web server. On mybox, LiteSpeed is the default web server on all plans - which means the plugin works at the server level, not just as a software layer.
? WordPress installed via mybox panel?

If WordPress was installed using the mybox panel’s automatic installer or the AI Website Builder, LiteSpeed Cache is already included. Skip to the Default settings section below.
Table of Contents
Installing the plugin manually
1. Log in to your WordPress admin panel (yourdomain.com/wp-admin).
2. Go to Plugins → Add New.
3. In the search box, type LiteSpeed Cache.
4. Click Install Now on the LiteSpeed Cache plugin (by LiteSpeed Technologies).
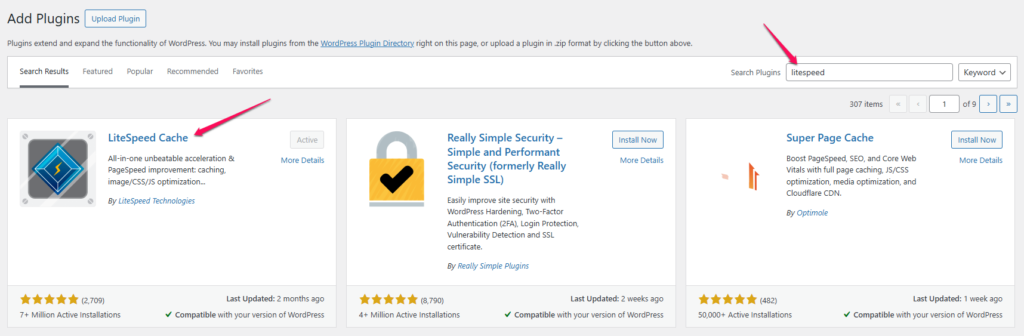
5. Once installation is complete, click Activate.
The plugin is also available for manual upload from the WordPress plugin repository - download the .zip file and upload it via Plugins → Add New → Upload Plugin.
Default settings
After activation, LiteSpeed Cache applies a default configuration that covers basic page caching. For most WordPress websites, the default settings provide a noticeable improvement in page load times without any further configuration.
If you want to fine-tune the cache settings - for example, to exclude specific pages, configure object caching with Redis, or set up image optimization - these options are available in LiteSpeed Cache → Settings in your WordPress admin panel.
→ What is Redis and how does it work on mybox?