


Most of us use avatars every day. They’re more commonly used on social media platforms and are called profile pictures . After uploading an image of yourself with a photo or company logo, it appears not only on your profile page but also in your posts.
A “Gravatar” is nothing more than an avatar with a global character (the name comes from the term “Globally Recognized Avatar” ) . The idea of globally recognized avatars was created in 2007 as the Tom Preston-Werner Project and became part of “Automatic” , the group responsible for creating and maintaining the “WordPress” platform .

It’s no surprise, then, that to use a gravatar, you must have a user account on WordPress.com . You can manage your gravatar or gravatars (since you can have multiple gravatars within a single user account) at https://gravatar.com
Table of Contents
How do I create an account and set my gravatar?
If you don’t have an account yet, go to https://gravatar.com and click the “Get Started Now” button .

This will take you to WordPress.com, where you’ll need to create an account. Simply fill out three fields: your email address, username, and the password you’ll use to log in. The most important field is the email address, as it will be used and linked to the Gravatar service . After filling out the fields, click the “Create an Account” button .
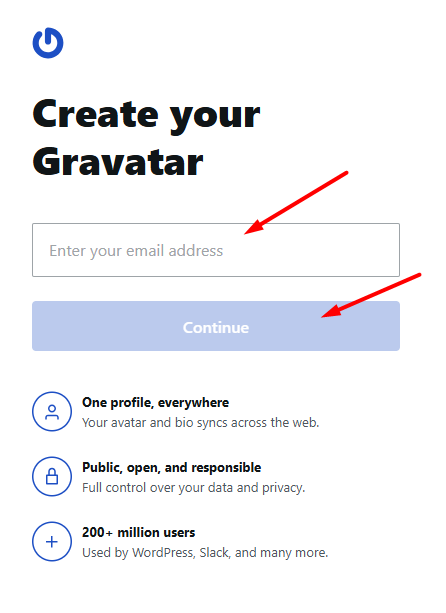
Check your email. You should see an email with a verification code. Enter the code and continue to configure your profile by following the instructions on your screen. Some of the steps allow you to skip them.

Return to https://gravatar.com and click the “Log in” button .

You’ll be asked if you want to authorize site x to use your newly created WordPress.com account. Click the “Approve” button .
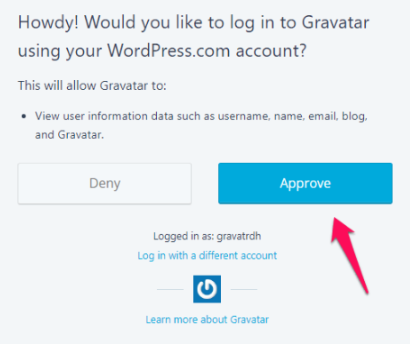
Great! We’re logged in. Now let’s add a gravatar by going to the “Avatars” section, where you can upload a photo or take one on the spot.


Select an image saved on your disk that will become your gravatar. Once the image has been uploaded, you can adjust its size and crop it if necessary. Keep in mind that gravatars are square. As you resize, you’ll see previews of both smaller and larger versions on the right, so you can get an idea of how your gravatar will appear in different circumstances.

When you finish editing your avatar, click “Done” on the top right corner.

Because Gravatar is a user-friendly service, you must specify a rating for your Gravatar . From the top down, you can choose whether the image is safe and user-friendly, whether it contains gestures that may be considered offensive, whether it contains nudity or offensive elements, and finally, whether it contains erotic scenes or other disturbing content by clicking on “Change Rating“. After selecting the appropriate rating for the uploaded image, click the “Save” button .


That’s it. You have your own gravatar ! From now on, wherever this service is used, and you log in using the email address associated with your gravatar , the image you just uploaded will be displayed as your primary profile image.
Gravatars in the mail.mybox.com address book
If you’d like to add gravatars to your friends’ or business partners’ contacts in your address book on mail.mybox.com after logging in, go to settings by clicking the gear icon on the right. Then, select “Preferences” in the left-hand column , and then click “Address Book . “

On the options page that appears, you will find the “Gravatar in address book” section, where you can activate or deactivate the display of “gravatars” .