


In a situation where after updating the “WordPress” CMS to a newer version, it turns out that the plugins or template you are using, which are a critical element of your website’s operation, do not work properly as a result of incompatibility, you can use the WP Downgrade plugin.
Remark! If you are not sure that such an action is necessary, do not take it. The steps described below will overwrite the main WordPress script files on which your website is based.

1. Log in to the “WordPress” backend and go to the “Plugins” tab, then select the “Add New” option.
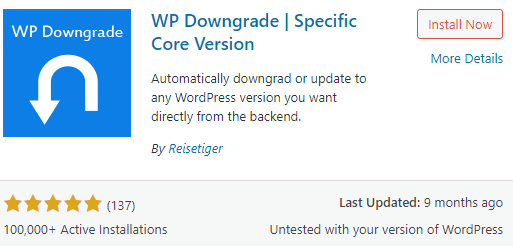
2. In the search box on the right, type: “WP Downgrade”. After a while, you will see the suggested add-ons corresponding to this query in the results. Find the plugin: “WP Downgrade | Specific Core Version” and click the “Install” button. Once the installation is complete, enable the plugin by clicking the “Activate” button.
3. In the menu on the left, go to the “Settings” section and there “WP Downgrade”.

4. On the page that appears, manually enter the version of “WordPress” you want to restore and save the changes by clicking the “Save Changes” button.

You can find a list of all versions of “WordPress” HERE.
5. After saving the changes, you will notice that a frame has appeared at the bottom of the page with a button directing you to a subpage related to the “WordPress” update.

6. On the update page, select reinstall.
