


1. When you want to add another email account to Mozilla Thunderbird, click on any account, then a tab will appear where you click Create a new account.
2. In the new E-mail Account Configuration window, fill in the following text fields: In the Name and Surname field, enter your name and surname (it will be displayed when sending e-mails).

3. In the E-mail address field, enter our e-mail address created in the mybox panel. In the Password field, enter the password to our email account. Next, check the Remember password box so that you don’t have to enter your password again when downloading and sending emails.
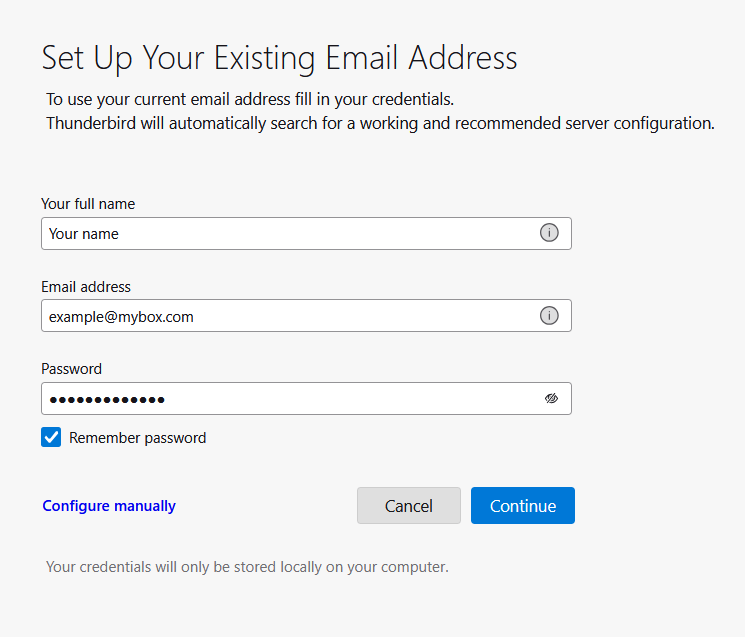
4. Click the Continue button. The configuration should download automatically from the server and look like the Automatic Configuration image. If it looks the same, we can go straight to point 9.


5. If the configuration could not be downloaded automatically or it looked different, click the configure manually option. After clicking on it, the fields for configuring the mail server will appear. We complete the Incoming Mail Server depending on the selected protocol (IMAP or POP3).
6. If you want your mail folders to synchronize with the server, select Incoming Mail Server as IMAP. Then enter imap.mybox.com in the Server address field, and 993 in the Port field. Next, select the SSL/TLS value in the SSL field. For Authentication, select Normal password.

7. If you want the mail folders to be located only on the local computer, select Incoming Mail Server as POP3. Next, enter pop3.mybox.com in the Server address field. Then enter 995 in the Port field. Next, in the SSL field, select the SSL/TLS value. For Authentication, select Normal password.

8. Next, complete the Outgoing Mail Server as described below. In the Server address field, enter smtp.mybox.com. In the Port field, enter 587. Next, we mark the value of STARTTLS in the SSL field. For Authentication, select Normal password.
9. In the Username field, enter our e-mail address (e.g. [email protected])
10. After configuring the mail server settings, click the “re-test” button and then “Done”. Thunderbird will check the correct information you have entered and if it is correct, the account will be added.